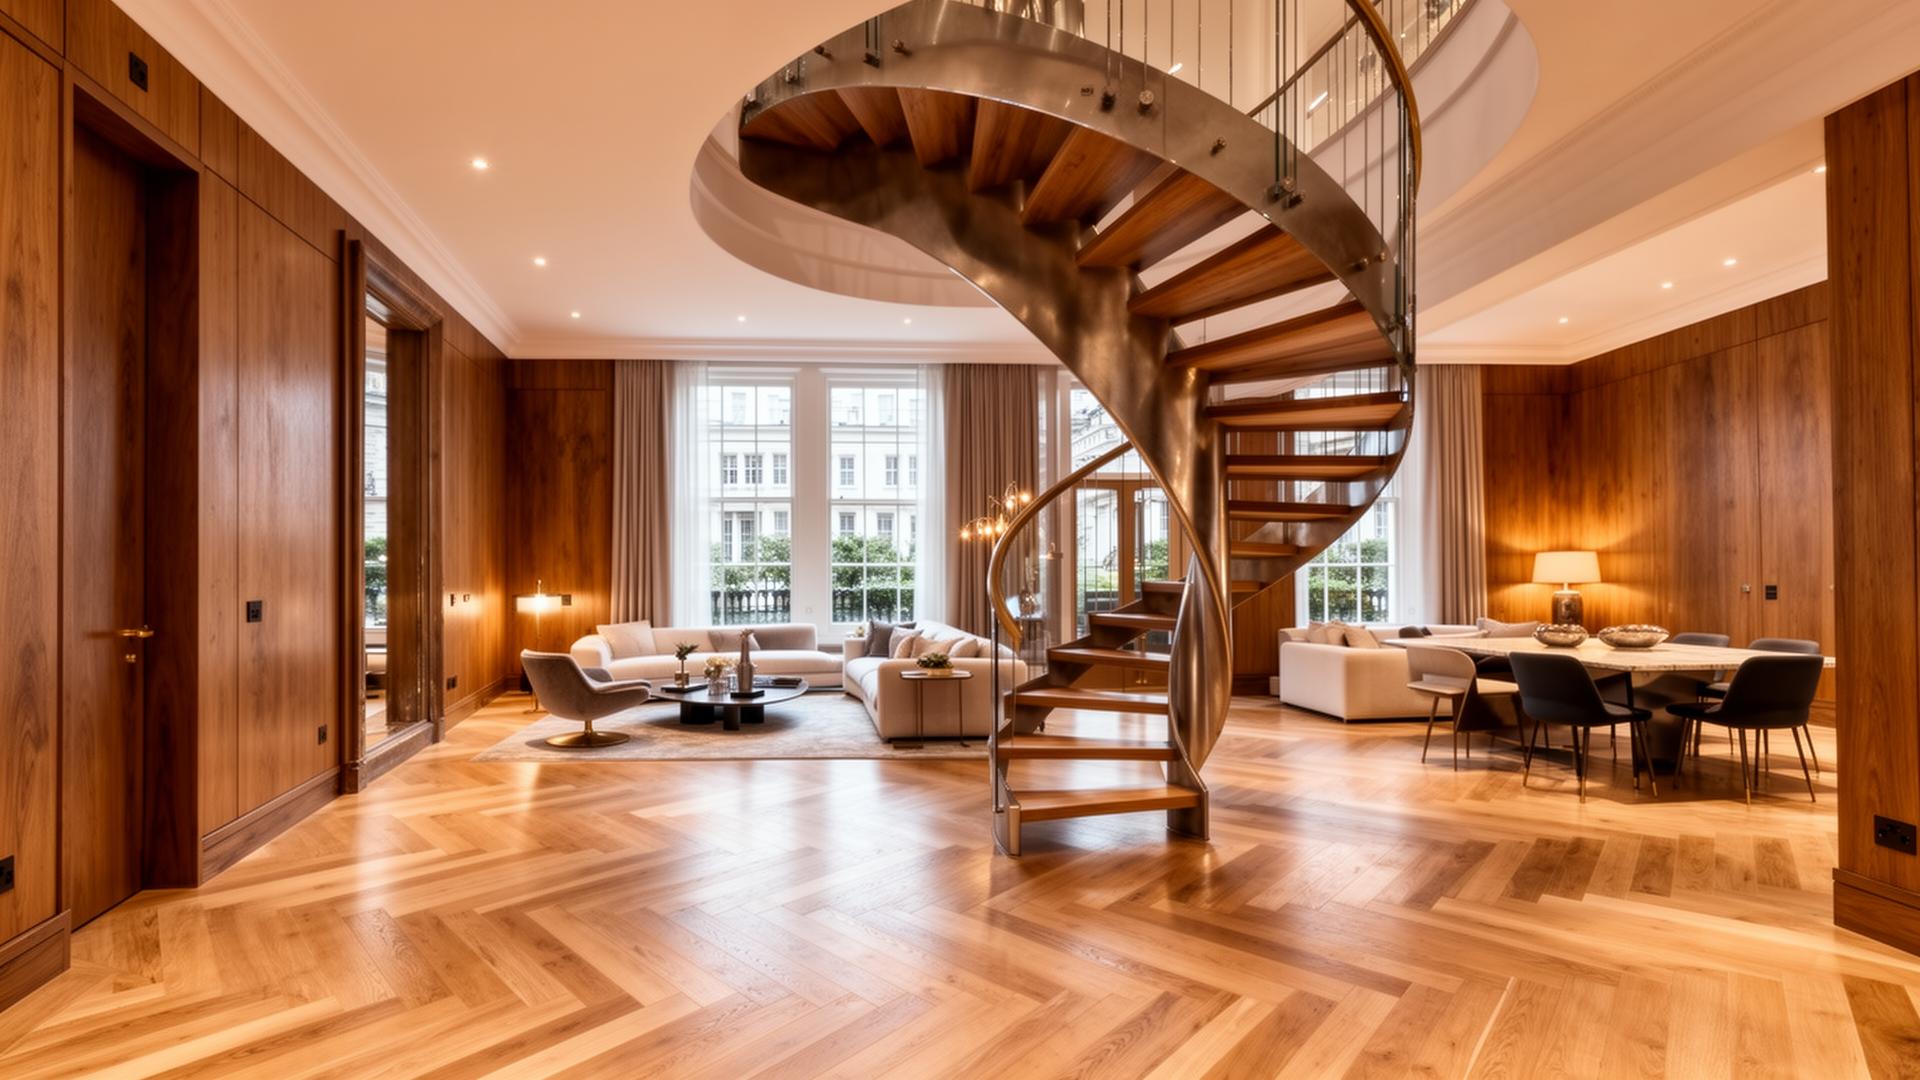
Embarking on a full house renovation in Hampstead is incredibly exciting. It’s a chance to breathe new life into a property, tailor it perfectly to your lifestyle, and potentially add significant value. But let’s be honest, it can also feel daunting. From initial ideas to the final finishing touches, a major NW3 refurbishment involves numerous steps, decisions, and complexities.
Where do you even begin? Don’t worry, you’re in the right place. As experienced Hampstead builders, Hill & Way has guided countless homeowners through successful renovations. To help you navigate the journey, we’ve put together this step-by-step checklist, covering the key stages of planning and executing your dream Hampstead property renovation.
Before You Begin: Laying Solid Foundations
Thorough planning is the bedrock of a smooth renovation. Getting these initial steps right will save you time, money, and stress down the line.
Define Your Vision & Budget
First things first: what do you want to achieve? Be specific. Are you reconfiguring the layout, adding an extension, upgrading systems, focusing on aesthetics, or all of the above? Create a detailed brief outlining your goals, must-haves, and nice-to-haves. Alongside this, establish a realistic budget. Factor in not just the build costs, but also professional fees (architects, engineers), potential contingency funds (around 10-15% is wise for unforeseen issues), and perhaps costs for alternative accommodation if needed.
Understand Local Requirements (Incl. Hampstead Garden Suburb)
Navigating regulations is crucial, especially in an area like Hampstead with its beautiful period properties and conservation zones. You’ll likely need to consider:
Planning Permission: Required for significant changes like extensions, major external alterations, or if your property is listed or in a conservation area.
Building Regulations Approval: Ensures the work meets safety and technical standards (structural integrity, insulation, fire safety etc.).
Party Wall Agreements: Necessary if you’re doing work on or near a wall shared with neighbours.
Specific Area Guidelines: Crucially, if your property falls within the Hampstead Garden Suburb, there are specific design guidelines and approval processes you must follow. The Hampstead Garden Suburb Trust (HGST) oversees this to preserve the unique character of the area. You can find detailed information directly on their website: www.hgstrust.org. Always consult the HGST before planning any external changes in the Suburb.
Assemble Your Professional Team
A successful renovation relies on collaboration. Depending on your project’s scale, you might need:
- Architect/Designer: To translate your vision into detailed plans and navigate planning permissions.
- Structural Engineer: For calculations relating to structural changes (e.g., removing walls, loft conversions).
- Interior Designer (Optional): For help with aesthetics, finishes, and space planning.
- Your Builder: Choose a reputable builder with experience in Hampstead renovations, like Hill & Way. We can often work alongside your chosen designers or offer design-and-build services.
The Renovation Journey: A Step-by-Step Guide
Once the planning is solid, the physical work begins. While every project is unique, a full house renovation typically follows these key stages:
Stage 1: Detailed Design & Approvals
This involves finalising architectural drawings, structural calculations, and detailed specifications. Your architect or builder will submit necessary planning and building regulations applications during this phase. Patience is key here, as approvals can take time.
Stage 2: Preparation & Structural Work
The transformation begins! This stage typically includes site setup (protection, welfare facilities), careful demolition or stripping out, groundworks for extensions, and major structural alterations like installing steel beams, building new walls, or creating the shell of a loft conversion.
Stage 3: First Fix
This is about installing the hidden ‘bones’ of the house before the surfaces are closed up. Key first-fix tasks include running new pipework for plumbing and heating systems, installing electrical wiring and back boxes, fitting insulation, and building internal stud walls.
Stage 4: Plastering & Second Fix
Now things start to take shape visually. Walls and ceilings are plastered or boarded, creating smooth surfaces. Second fix involves installing kitchens and bathrooms, fitting doors, architraves, and skirting boards, connecting radiators, light fixtures, sockets, and switches.
Stage 5: Decoration & Finishing Touches
The final push! This stage includes all internal and external painting and decorating, laying flooring (tiles, wood, carpet), final tiling in kitchens and bathrooms, landscaping if applicable, and a thorough site clean-up. This is where your house truly becomes your home.
Partnering for Success on Your Hampstead Renovation
A full house renovation in Hampstead is a significant undertaking. Working with an experienced, reliable team like Hill & Way can make all the difference. We understand the nuances of working with Hampstead properties, manage the complexities of the build process, coordinate skilled tradespeople, and are committed to delivering exceptional quality, on time and within budget wherever possible.
We pride ourselves on clear communication and collaboration throughout your Hampstead renovation project.
Ready to discuss your plans? Contact Hill & Way today for an initial consultation.
Planning a major renovation raises many questions. Here are answers to some frequently asked questions about undertaking a full property renovation in Hampstead: